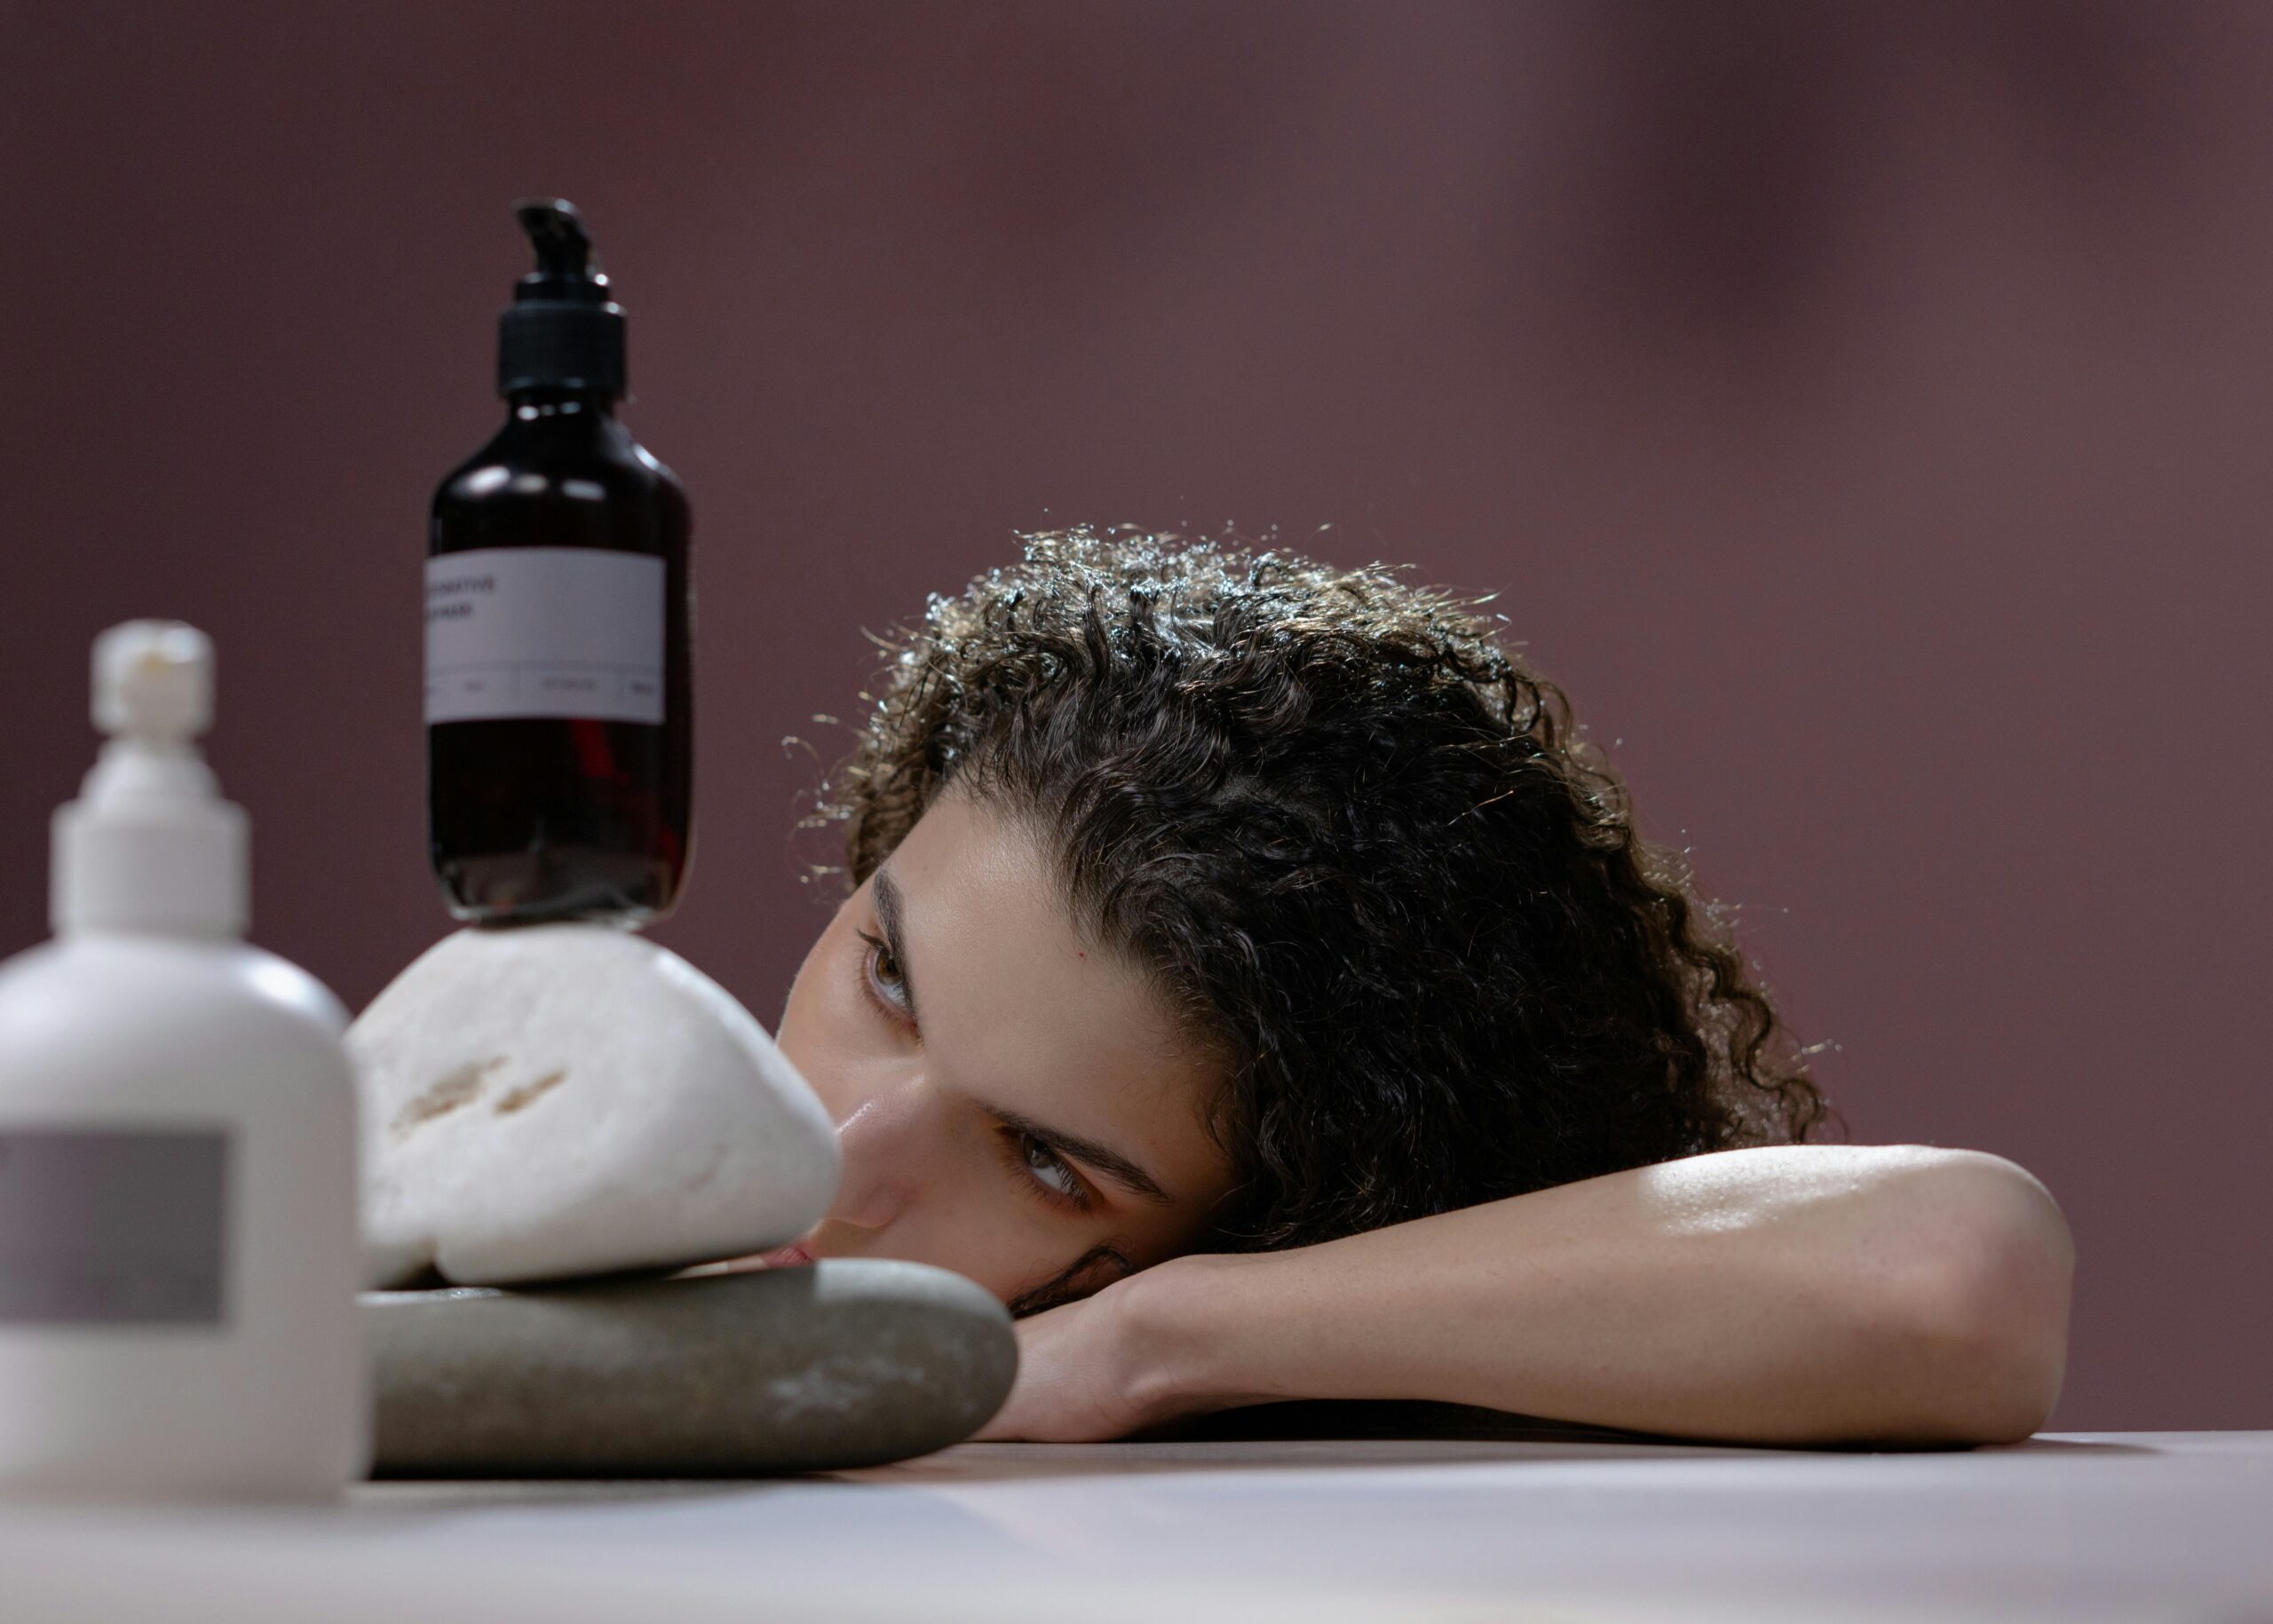
Patch testing is your secret weapon for achieving flawless beauty results, but even the smallest mistake can turn your glow-up into a major setback.
Whether you’re testing a new skincare serum, hair dye, or cosmetic product, understanding how to properly conduct a patch test can save you from painful reactions, embarrassing breakouts, and costly damage. Many beginners skip this crucial step or execute it incorrectly, leading to unfortunate consequences that could have been easily prevented with proper knowledge and preparation.
🔬 Understanding Why Patch Testing Matters More Than You Think
Patch testing isn’t just a precautionary measure—it’s an essential practice that protects your skin, hair, and overall health from potentially harmful reactions. Your body’s chemistry is unique, and what works perfectly for your best friend might trigger severe allergic reactions in you. Even products labeled as “hypoallergenic” or “dermatologist-tested” can cause adverse effects depending on your individual sensitivities.
The beauty and personal care industry introduces thousands of new formulations each year, combining various ingredients that interact differently with each person’s biological makeup. Without proper patch testing, you’re essentially gambling with your appearance and comfort, risking everything from mild irritation to severe chemical burns or permanent scarring.
⏰ The Timing Trap: Getting Your Patch Test Schedule Wrong
One of the most common mistakes beginners make is rushing the patch testing process. Many people apply a product to a small area and check it after just an hour or two, thinking they’re in the clear. This approach completely defeats the purpose of patch testing, as many reactions take 24 to 48 hours to fully manifest.
Allergic reactions and sensitivities don’t always appear immediately. Your immune system needs time to recognize foreign substances and mount a response. Some delayed hypersensitivity reactions can take up to 72 hours to show symptoms, meaning you might think you’re safe when you’re actually at risk.
The Optimal Patch Testing Timeline
For accurate results, leave your patch test undisturbed for at least 24 hours, with 48 hours being the gold standard. During this period, avoid washing the area, applying other products over it, or exposing it to excessive moisture or friction. Check the test site at regular intervals—after 12 hours, 24 hours, and 48 hours—to monitor for any changes in appearance or sensation.
📍 Location, Location, Location: Choosing the Wrong Test Site
Not all skin is created equal, and testing on the wrong area can give you false confidence that leads to disaster. Many beginners make the mistake of testing products on their forearms or the back of their hands—areas that are less sensitive than facial skin or other target areas where they’ll actually use the product.
Your facial skin is generally more delicate and reactive than the skin on your arms or legs. Testing a facial product on your arm might not reveal how your more sensitive facial skin will respond. Similarly, scalp skin has different properties than other body areas, making it crucial to test hair products appropriately.
Strategic Patch Testing Locations
- For facial products: Behind the ear or on the inner elbow (both areas have sensitive skin)
- For hair dye or scalp treatments: Behind the ear where scalp meets hairline
- For body products: Inner wrist or inner elbow
- For products near eyes: The outer corner of your jawline near the ear
- For nail products: One single nail, preferably on your non-dominant hand
💧 The Application Amount Mistake: Too Much or Too Little
Striking the right balance in product quantity during patch testing is trickier than most people realize. Applying too little product won’t give you an accurate representation of how your skin will react to normal use, while applying too much can cause irritation that wouldn’t occur under typical conditions.
Think about how you’ll actually use the product. If it’s a serum or cream you’ll apply liberally, your patch test should reflect that generous application. Conversely, if it’s a concentrated treatment meant to be used sparingly, don’t slather it on during testing or you’ll get skewed results.
Application Guidelines for Accurate Testing
Use approximately the same amount you would apply to an equivalent area during normal use. For most products, this means a small dab about the size of a pencil eraser for a patch test area roughly one inch in diameter. Spread it evenly as you would during regular application, and allow it to absorb or dry naturally without wiping it away.
🧪 The Cross-Contamination Catastrophe
Testing multiple products simultaneously or in quick succession is a rookie mistake that compromises your results. When you test several items at once, you can’t determine which product caused a reaction if one occurs. This defeats the entire purpose of patch testing and leaves you no wiser about what to avoid.
Additionally, using dirty applicators, contaminated containers, or expired products during patch testing can introduce variables that cloud your results. What you think is a reaction to the product might actually be a response to bacteria, mold, or degraded ingredients that have nothing to do with the fresh product’s actual formula.
📝 Documentation Disasters: Not Recording Your Results
Your memory isn’t as reliable as you think, especially when testing multiple products over time. Failing to document your patch tests properly means you might forget important details about what you tested, when you tested it, and what happened. This information becomes invaluable when you’re trying to identify patterns in your reactions or when consulting with a dermatologist.
What to Record in Your Patch Testing Journal
- Product name and brand
- Complete ingredient list (or photo of the label)
- Date and time of application
- Exact location of patch test
- Amount applied
- Check-in observations at 12, 24, and 48 hours
- Any symptoms: redness, itching, burning, swelling, rash
- Photos of the test site (especially if reactions occur)
- Environmental factors: weather, stress levels, hormonal cycle phase
🚫 Ignoring Red Flags During the Testing Period
Some beginners dismiss mild symptoms during patch testing, convincing themselves that slight tingling or minimal redness is normal. This dangerous mindset can lead to severe reactions when the product is applied to larger areas. Any discomfort, change in skin appearance, or unusual sensation should be taken seriously.
Even subtle signs like slight warmth, barely visible pinkness, or mild itching indicate that your skin is reacting to something in the formula. These symptoms often intensify with continued use or when applied to more sensitive areas. What seems like a minor issue during patch testing can escalate dramatically when you use the product as intended.
Symptoms You Should Never Ignore
Immediately remove the product and wash the area thoroughly with cool water and mild soap if you experience any of these symptoms: persistent itching, burning sensation, visible redness, swelling, blisters or bumps, flaking or peeling skin, unusual warmth, or pain. Even if symptoms seem mild, they indicate incompatibility between your skin and the product.
🧼 The Cleanliness Oversight That Skews Results
Starting your patch test on dirty skin is a fundamental error that compromises your results. Oils, dirt, makeup residue, or other product buildup can create a barrier that prevents proper contact between the new product and your skin, or they might interact with the test product in ways that wouldn’t normally occur.
However, over-cleansing or using harsh exfoliants immediately before patch testing presents the opposite problem. Freshly scrubbed or chemically exfoliated skin is temporarily more sensitive and permeable, which can cause reactions that wouldn’t happen under normal circumstances. You need to test on skin that represents your typical daily condition.
Proper Skin Preparation Protocol
Cleanse the patch test area gently with a mild, fragrance-free cleanser at least 2-3 hours before applying the test product. This allows your skin’s natural pH and protective barrier to normalize while ensuring the area is clean. Avoid any exfoliating, toning, or treatment products on the test site for 24 hours before beginning your patch test.
🌡️ Environmental Factors That Falsify Your Results
Many beginners don’t consider how environmental conditions affect patch testing outcomes. Testing a product during extreme weather, high stress periods, or hormonal fluctuations can produce misleading results. Your skin behaves differently under various conditions, and these variables can make you think a product is problematic when it’s actually fine, or vice versa.
Temperature and humidity significantly impact how your skin absorbs and reacts to products. Excessive sweating during summer patch tests can dilute products or cause them to migrate beyond the test area. Winter’s dry air can make skin more sensitive and reactive than usual. Hormonal changes during menstruation, pregnancy, or menopause can also alter your skin’s sensitivity levels.
🔄 The Retest Neglect: Assuming One Test Is Enough
Conducting only one patch test and considering the product permanently safe is a mistake that catches many beginners off guard. Your body’s chemistry changes over time due to hormonal shifts, seasonal variations, dietary changes, stress levels, and other factors. A product that tested fine six months ago might cause reactions now.
Additionally, manufacturers sometimes reformulate products while keeping the same name and packaging, changing ingredient concentrations or adding new components. Even if you’ve used a product successfully before, retesting after purchasing a new batch—especially if there’s been a significant time gap—is a smart precaution.
💡 Understanding the Difference Between Irritation and Allergy
Confusing irritant reactions with allergic reactions is a common beginner mistake that affects how you proceed after a negative patch test. Irritant reactions occur when a product damages your skin directly, like a mild chemical burn. These reactions typically appear quickly and improve once you remove the irritant. Allergic reactions involve your immune system and can worsen with repeated exposure, even to small amounts.
Distinguishing Between Reaction Types
| Feature | Irritant Reaction | Allergic Reaction |
|---|---|---|
| Onset Time | Usually immediate to a few hours | Can take 24-48 hours or longer |
| Symptoms | Burning, stinging, redness | Itching, swelling, rash, blisters |
| Pattern | Limited to contact area | Can spread beyond contact area |
| Dose Dependent | Yes – more product = worse reaction | No – tiny amounts can trigger response |
| Future Exposure | May tolerate lower concentrations | Must avoid completely |
🎯 Product-Specific Patch Testing Mistakes
Different product categories require tailored patch testing approaches, but beginners often use a one-size-fits-all method. Hair dyes, for instance, require particularly rigorous testing because scalp reactions can be severe and the chemicals involved are often more aggressive than those in skincare products.
Hair Color Patch Testing Essentials
Always mix hair dye according to package instructions before testing—never test the unmixed components separately. Apply the mixture to a small area behind your ear where hairline meets skin, and test 48 hours before your planned coloring session. Even if you’ve used the same brand before, test each new box, as formulations vary between batches and shades.
Fragrance and Essential Oil Testing
These concentrated substances require dilution before patch testing, just as they should be diluted for actual use. Testing undiluted essential oils can cause burns even if you’re not allergic. Mix the product with a carrier oil or into a base product at the concentration you intend to use, then conduct your patch test.
🔍 The Follow-Through Failure After Negative Results
When a patch test reveals a reaction, some beginners make the mistake of immediately trying the product again in a different location or at a different time, hoping for different results. This approach is dangerous and illogical. A negative patch test is valuable information—it’s protecting you from a more serious reaction on a larger, more visible area.
Instead of ignoring warning signs, investigate which ingredient might be causing the problem. Compare the ingredient list with other products you’ve reacted to, looking for common components. This detective work helps you identify your specific triggers and avoid them in future purchases, making you a more informed consumer.
📱 Modern Tools That Make Patch Testing Easier
Technology can help you track and manage your patch testing more effectively. Various smartphone apps allow you to photograph products, scan ingredient lists, set reminders for check-in times, and maintain detailed records of your testing history. These digital tools eliminate the excuse of inconvenience and make consistent patch testing more manageable.
✨ Building Your Personal Safe Product Database
Every successful patch test adds to your knowledge base of safe, compatible products. Creating a personal catalog of tested and approved items streamlines your beauty routine and shopping decisions. Keep ingredient lists from products that worked well, noting any particularly beneficial components for your skin type.
Conversely, maintain a list of ingredients that caused reactions so you can quickly screen new products before purchasing. Many shopping apps and browser extensions can alert you when a product contains your known irritants, saving time and money while protecting your skin.
🎓 Graduating Beyond Basic Patch Testing
As you become more experienced with patch testing, you’ll develop intuition about which products warrant extra caution and which present lower risk. However, never let familiarity breed carelessness. Even experienced beauty enthusiasts can develop new sensitivities or encounter unexpectedly reactive formulations.
Consider patch testing as an ongoing practice rather than a beginner’s crutch. Professional makeup artists, estheticians, and dermatologists continue testing throughout their careers because they understand that prevention is infinitely easier than treating reactions. Your commitment to proper patch testing demonstrates self-respect and wisdom, not paranoia or excessive caution.

🌟 Making Patch Testing a Non-Negotiable Habit
The key to avoiding beginner mistakes is making patch testing an automatic part of your beauty routine, as natural as washing your face or brushing your teeth. When you receive a new product, test it before you even think about full application. This habit removes the temptation to skip testing when you’re excited about trying something new.
Store new products in a designated “testing queue” area, separated from your current rotation. This physical reminder helps you maintain discipline and ensures nothing slips through without proper evaluation. Consider setting a regular testing schedule—perhaps testing new products only on Friday evenings, giving you the weekend to monitor results without work or social pressure.
Your skin is your largest organ and deserves thoughtful protection. By avoiding these common patch testing mistakes, you’ll save yourself from painful reactions, wasted money on incompatible products, and the disappointment of damaged skin or hair. The few minutes invested in proper patch testing pay dividends in the form of consistent, beautiful results and the confidence that comes from truly knowing what works for your unique biology. Remember, patience during testing prevents problems during use—making it the smartest investment you can make in your beauty journey.